- Navigate to the Portfolio, Assets, or a specific Asset Page
Click the Deposit button in the Portfolio page, Assets page, or directly on an asset list item or asset page.
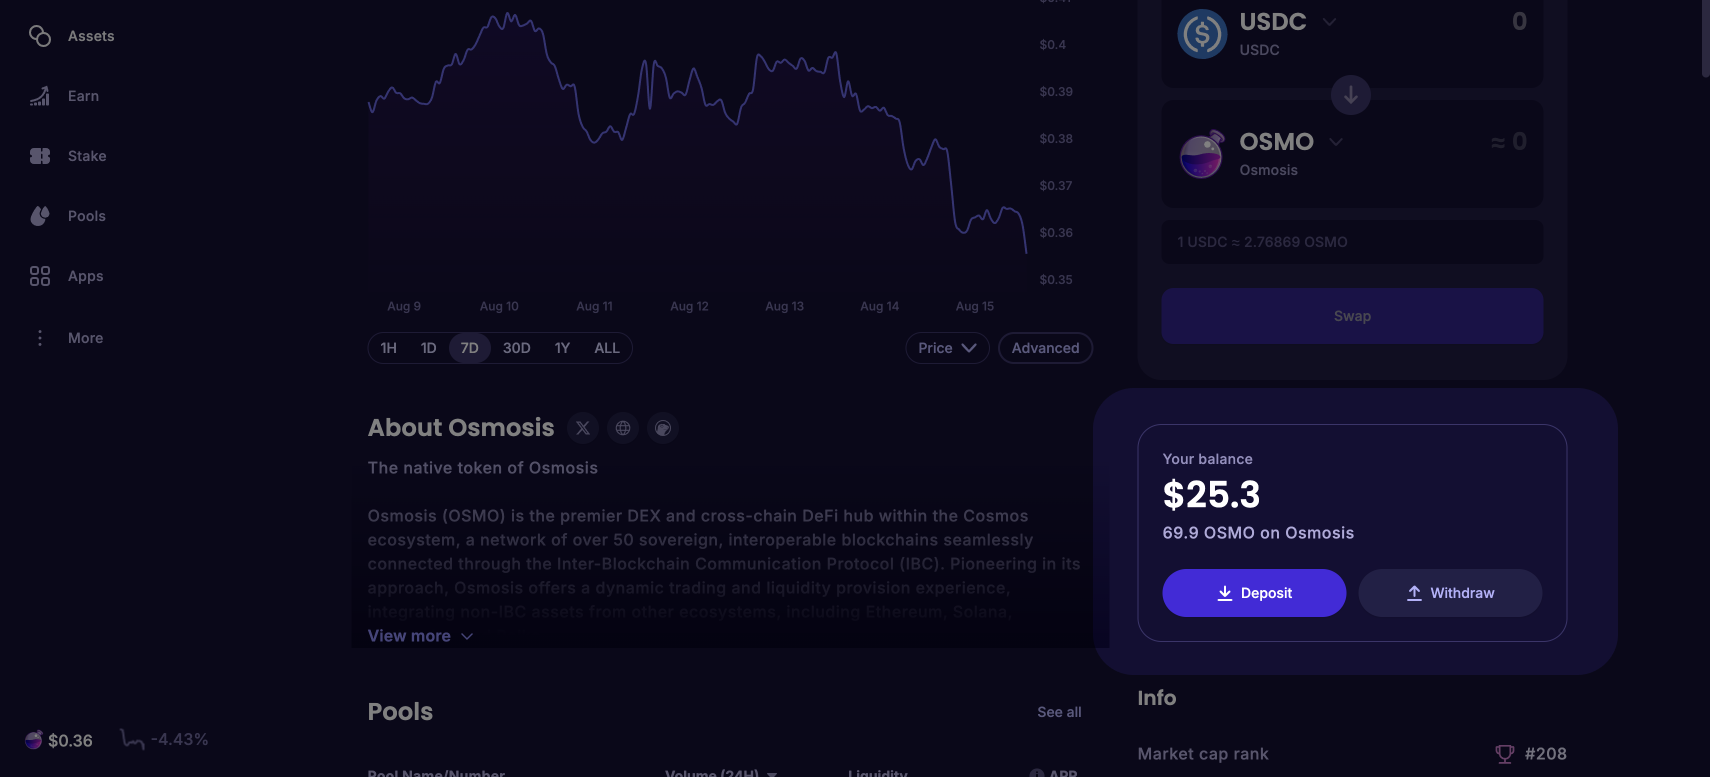
- Select an asset
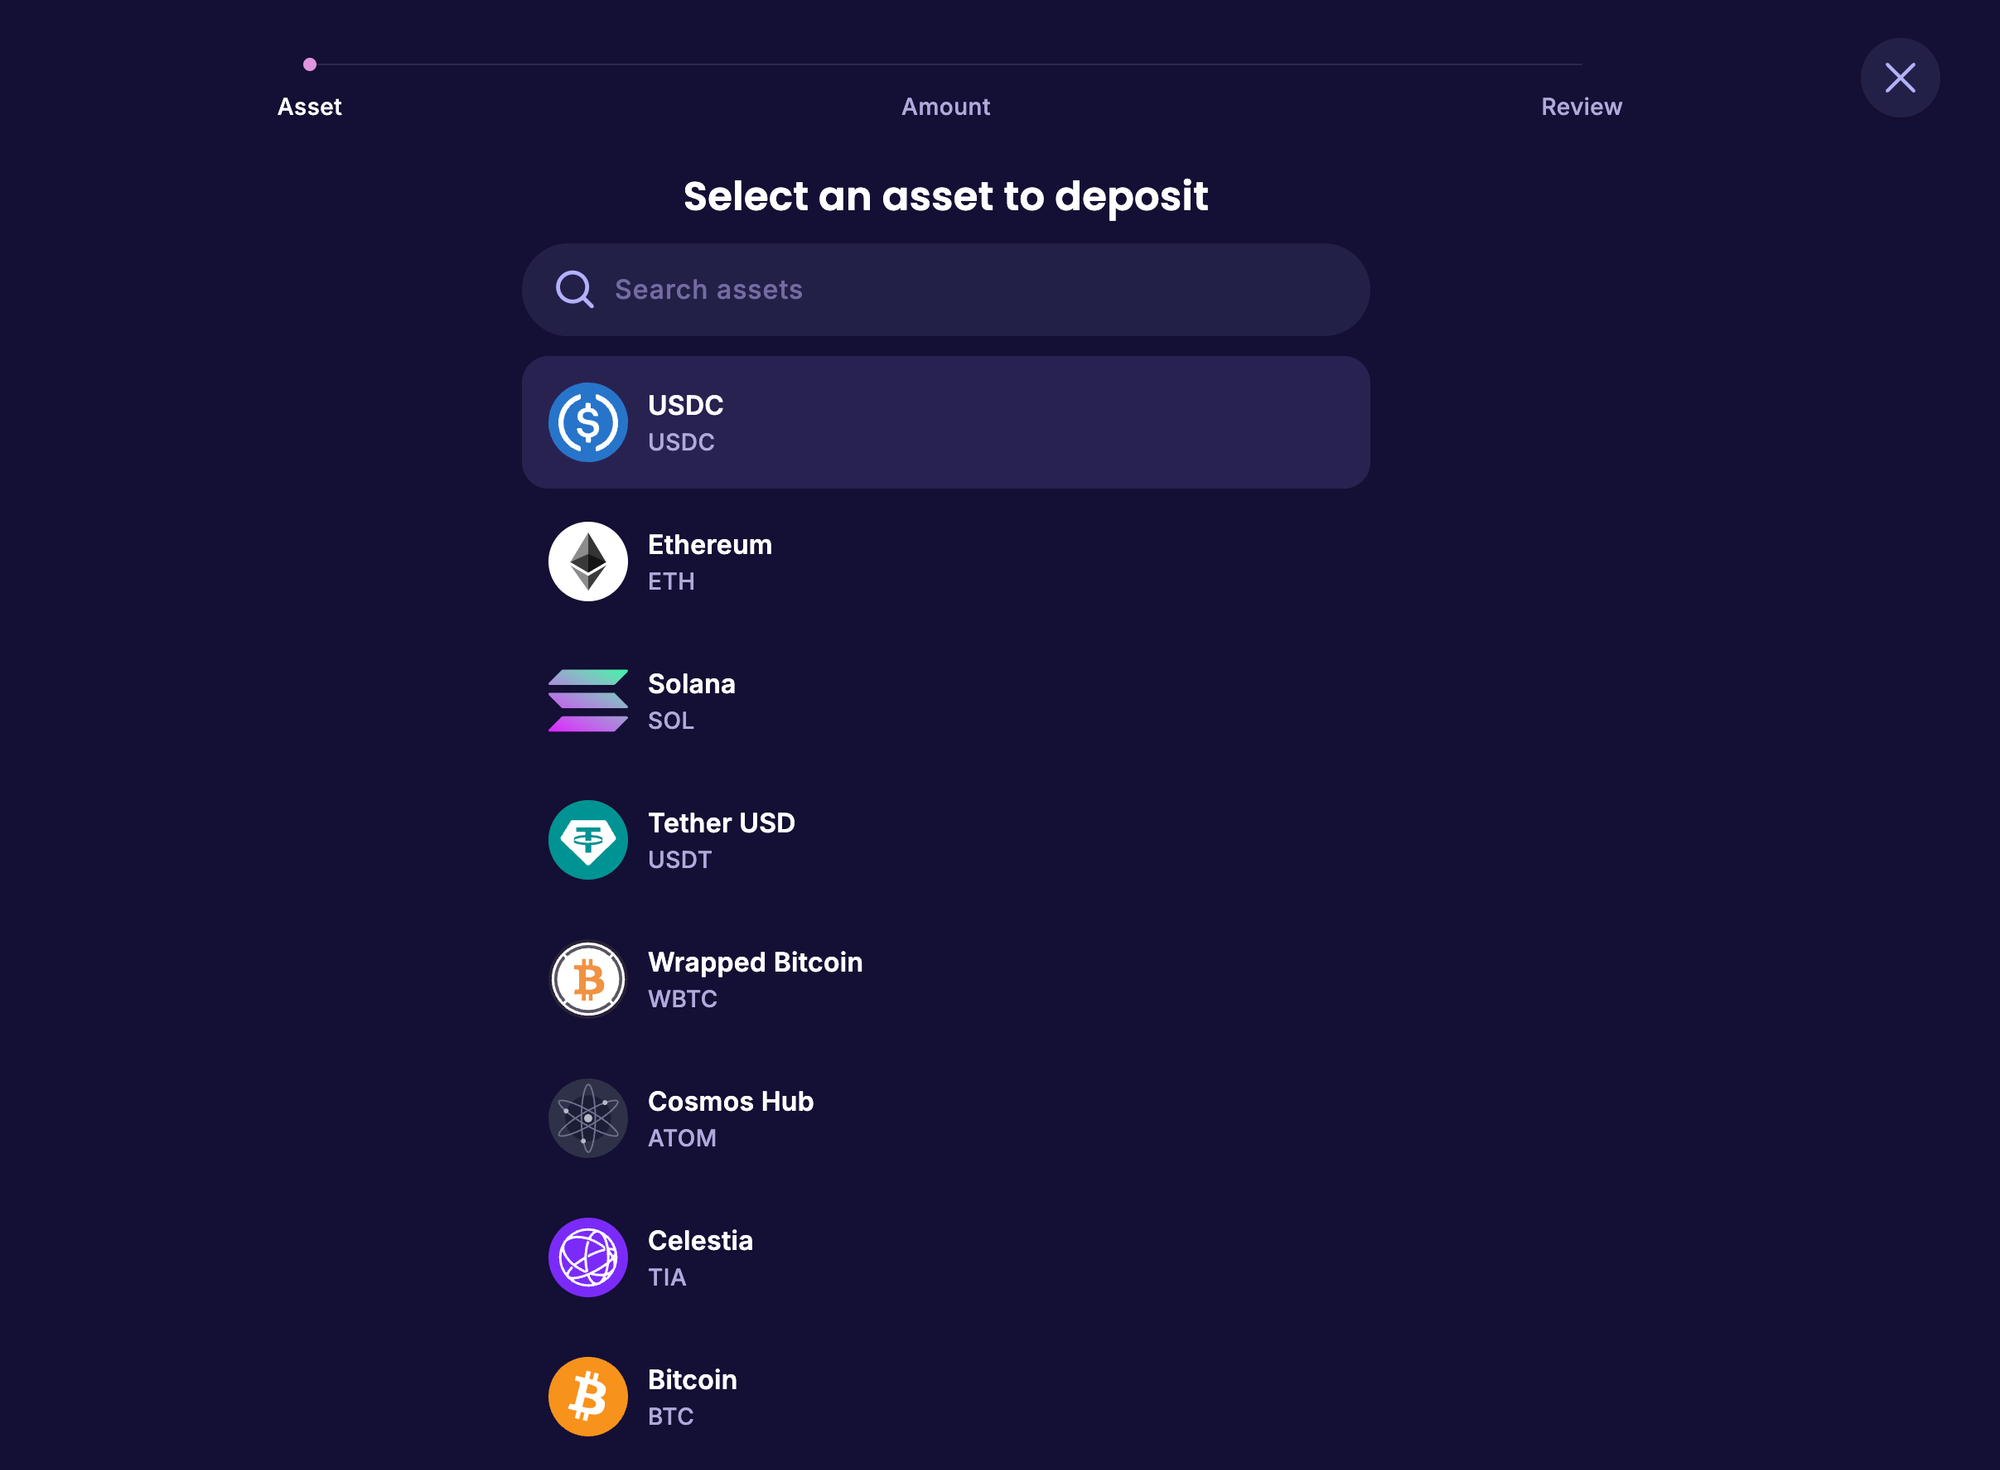
If you haven’t already chosen an asset, you will be presented with a list of supported assets.
Select an asset or use the search field to quickly find your desired asset.
- Specify the source and amount
Wait for your detected balance to load on the default network or proceed to select a different network.

- If you wish to deposit a balance from a different source network, use the From network button to open the network selection menu and choose the network to transfer your funds from.
.png)
- Enter an amount to deposit in the amount field - click the “$0” to focus the field.
- You can click the Max button to deposit the maximum amount available in your wallet. Note: depending on the asset and network, sometimes a small amount will be reserved to cover network fees.
- Underneath the amount field you can also toggle the input mode between fiat (e.g. USD) and crypto (e.g. ATOM).
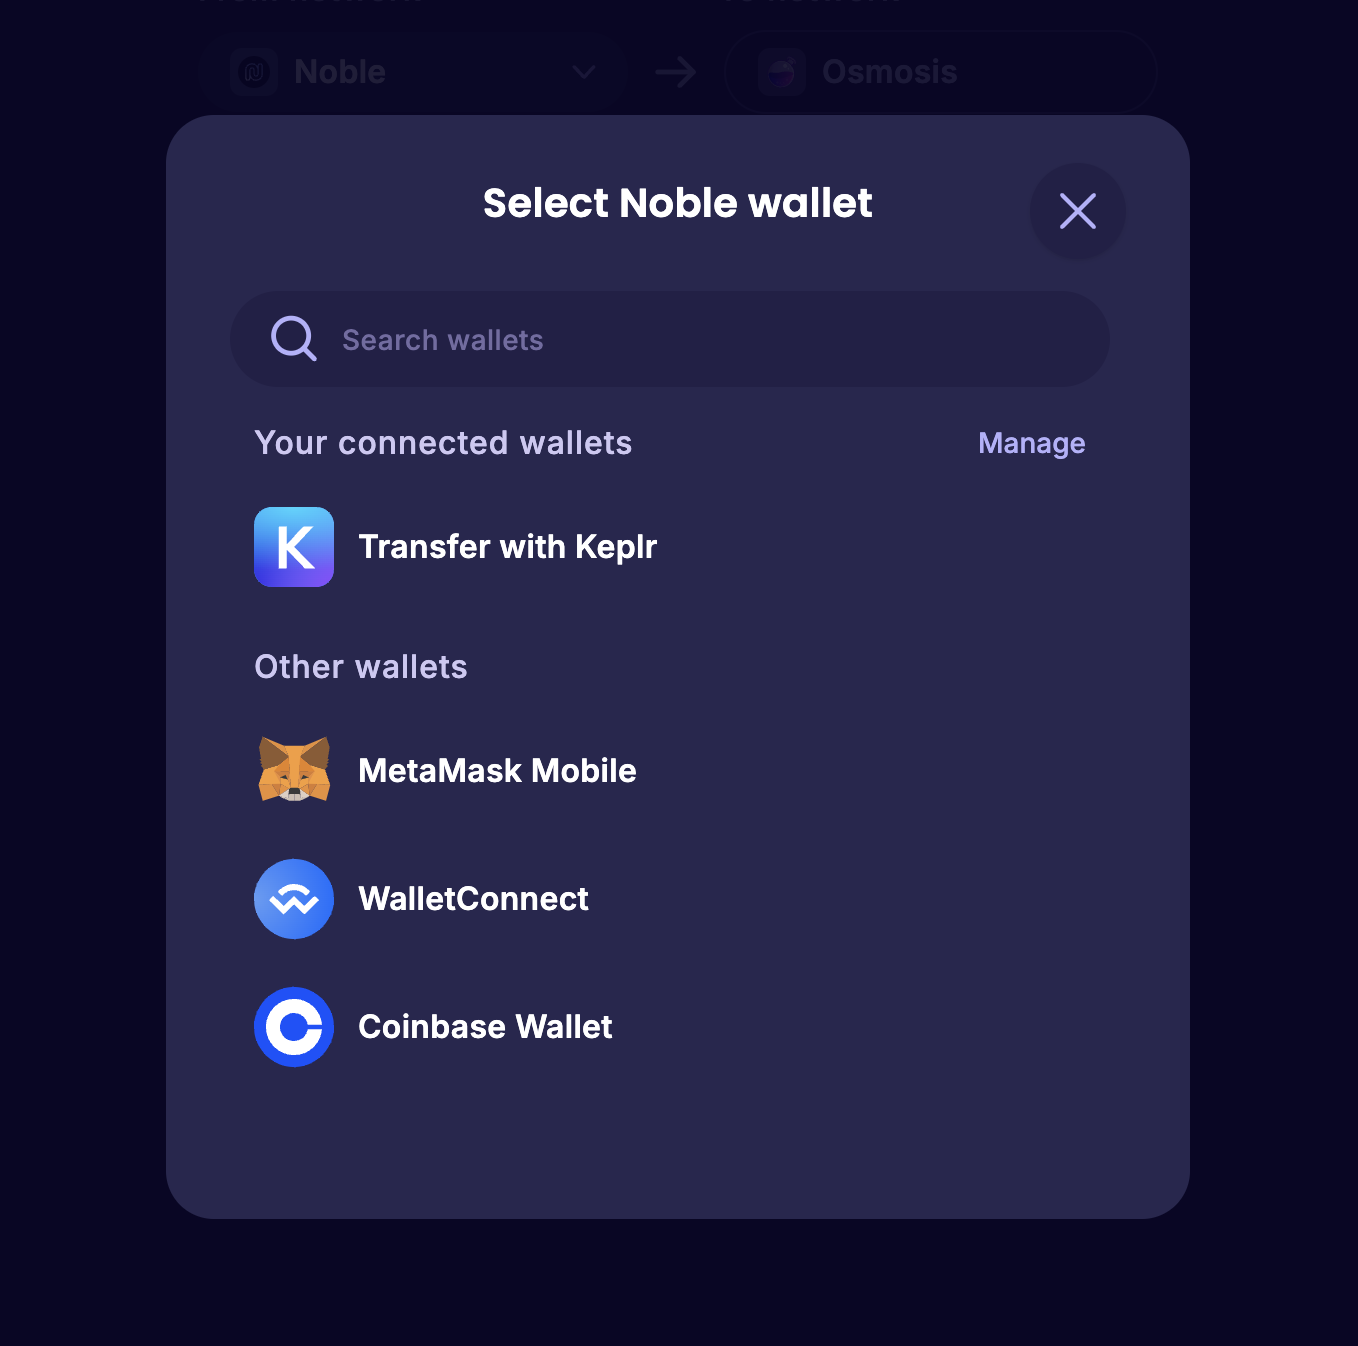
- If your funds are in a different wallet than your primary Osmosis wallet, you may connect an additional deposit wallet. Click on the existing wallet or the Connect wallet button (if applicable) to view the available options.
Note: currently, it’s only possible to connect one EVM wallet at a time. Support for additional wallets coming soon.
- View your deposit details (optional)
Expand the transfer details to review a breakdown of the estimated fees, transfer time, and minimum amount received (factoring max slippage).
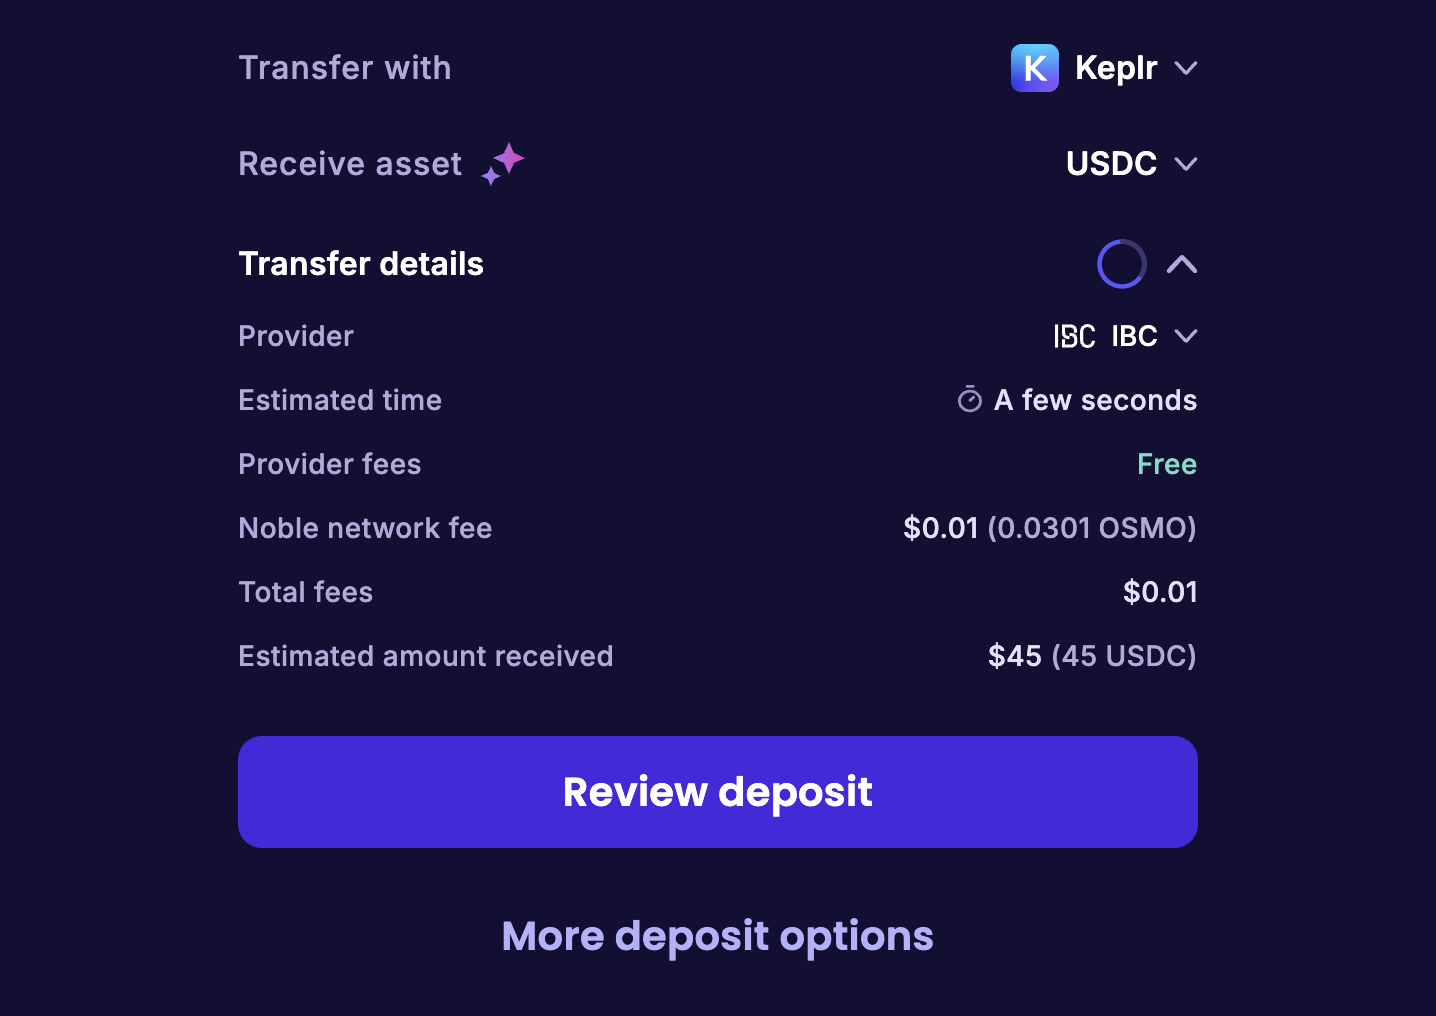
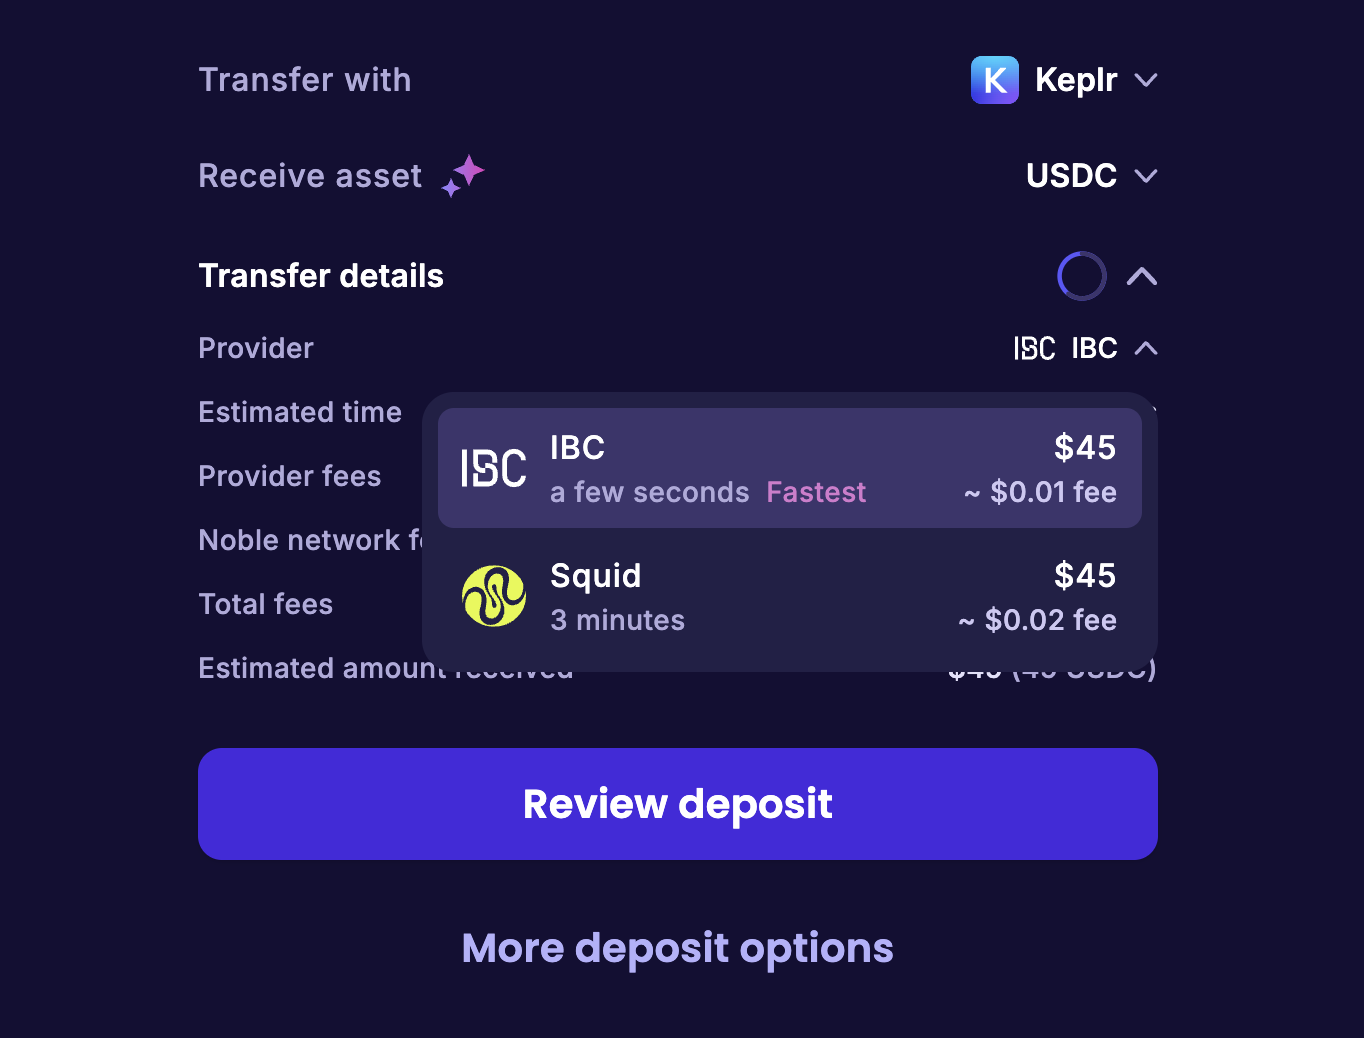
- Select Transfer Provider:
By default, we’ll choose the optimal provider for you, based on price and speed. However, if you wish, you may choose a different provider if applicable. Each provider may estimate different fees and transfer times. Select the provider that best suits your needs.
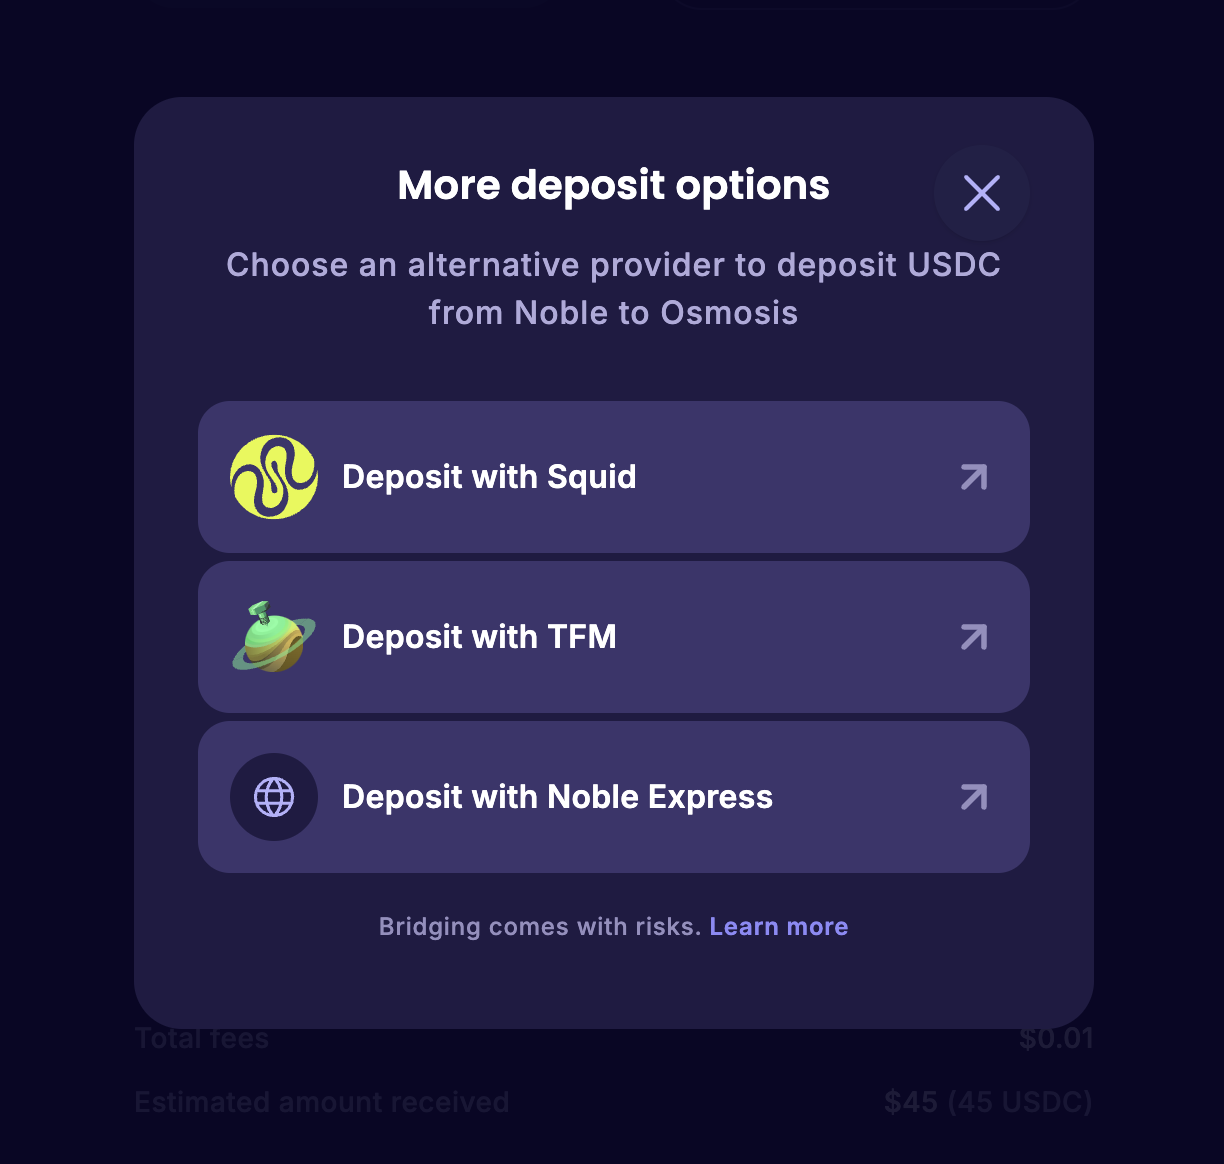
- More Deposit Options:
If for some reason you wish to use an alternative app to deposit your funds, open the More deposit options menu. The available options displayed are based on the selected asset and network.
- Confirm your deposit
Check your transfer details on the Review screen to make sure everything looks right before you continue to approve in your wallet. This is your last chance to make sure the amounts, source network, wallet, and fees are all as expected.
If you wish, you may also expand the transfer details where you can switch providers and review fees etc. Note: periodically, the receive amounts and fees may update when a new quote is retrieved.
If everything looks good, Confirm to continue to your wallet where you can approve the transaction and configure your network fees if desired.
.png)
- Await transfer completion
Upon successful wallet approval, your transfer will be on its way. You should see the updated balance in your Portfolio once the transfer is complete.
Note: for some transfers, it will be a matter of seconds, but for others it can take much longer. Be patient and wait for a confirmation message in the app, or reach out to our Support Lab if you encounter any issues.
